Step-by-Step Guide to Kitchen Sink Installation
Gather Your Tools and Materials
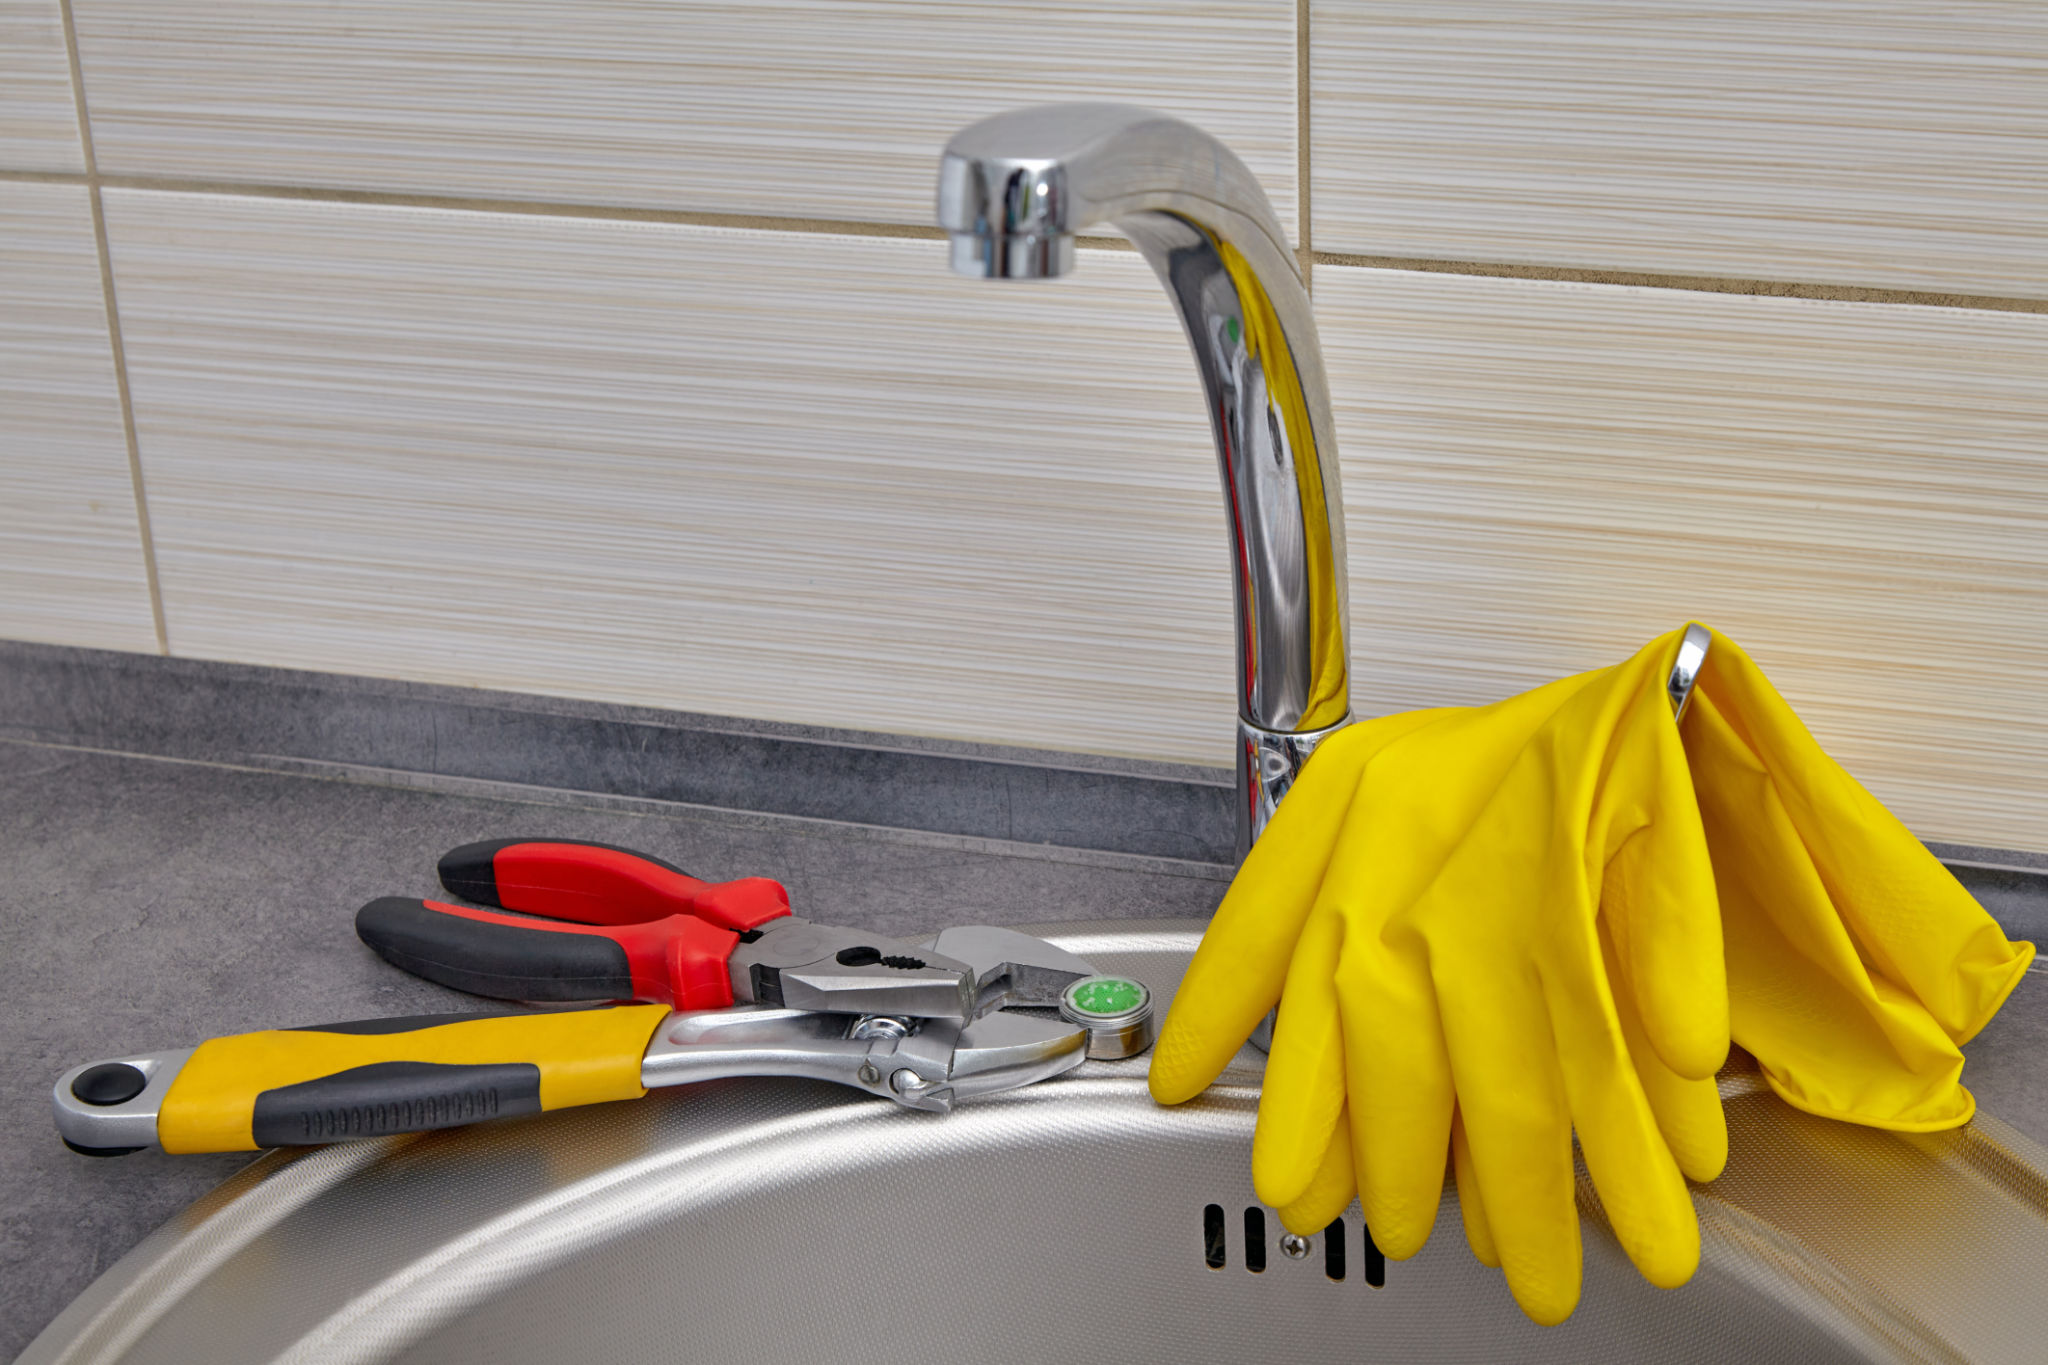
Installing a kitchen sink might seem like a daunting task, but with the right tools and materials, it can be a manageable DIY project. Before you begin, make sure you have the necessary tools on hand: a wrench, plumber's putty, silicone sealant, a jigsaw, and a tape measure. You'll also need the sink itself, the faucet, hoses, and plumbing fixtures. Having everything ready will streamline the installation process.

Prepare the Work Area
The first step is to prepare your work area. Clear out the cabinet under the sink and remove any obstructions. It's also a good idea to turn off the water supply and disconnect any existing plumbing to avoid leaks during the installation. Ensure that your workspace is well-lit and ventilated, as this will make the installation process smoother and more comfortable.
Measure and Cut
Once your work area is ready, it's time to measure and cut the countertop to accommodate your new sink. Use a tape measure to determine the dimensions of your sink and mark these on your countertop. If you're replacing an old sink, use its outline as a guide. Carefully cut out the marked area with a jigsaw, ensuring that the opening is slightly smaller than the sink's rim for a snug fit.

Install the Faucet
Before placing the sink in its cutout, it's easier to install the faucet and any additional attachments like soap dispensers. Follow the manufacturer’s instructions for attaching these components securely to the sink. Ensure all connections are tight to prevent leaks after installation.
Position the Sink
With the faucet installed, apply plumber's putty around the edges of the sinkhole on your countertop. Carefully lower the sink into place, pressing down firmly to create a watertight seal. Check that the sink is level and adjust if necessary. Wipe away any excess putty that squeezes out from under the sink rim.

Connect the Plumbing
Now that your sink is securely in place, it's time to reconnect the plumbing. Attach hoses from the faucet to the water supply lines and connect the drain pipes using a wrench to ensure tight seals. It’s important to follow any specific instructions provided with your sink or plumbing kit for optimal results.
Seal and Test
For additional protection against leaks, apply a bead of silicone sealant around the edge of the sink where it meets the countertop. Allow it to dry according to the instructions on the sealant packaging. Once everything is dry, turn on your water supply and test for leaks by running water through both the faucet and drain.
Final Touches
With your new kitchen sink installed and functioning properly, add any final touches such as installing strainers or cleaning up residual sealant or putty. Take a moment to ensure that everything is working as it should, and make any necessary adjustments. Congratulations on completing your kitchen sink installation!